Receiving a positive mold test result can be alarming, but it’s the crucial first step toward creating a healthier living environment. The positive test means you have confirmation of a problem and can now move forward with a targeted and effective cleanup strategy.
Here is a step-by-step guide on how to approach mold remediation after a positive test result.
Interpret Your Mold Test Results
Before jumping into cleanup, you need to understand what the test is telling you. A professional test report typically includes:
Identifying the Specific Mold Types
Professional mold test results will list the exact genus and species of mold found in the samples, such as Aspergillus, Penicillium, or Stachybotrys (often called black mold). While the specific health risks vary slightly by type, the presence of any elevated mold indicates an indoor air quality issue that needs attention. Focus less on classifying the mold and more on acknowledging that a growth problem exists; all indoor fungal growth should be eliminated to safeguard the home environment and its occupants’ well-being.
Understanding Spore Concentration Levels
The report will provide a concentration count, often measured in spores per cubic meter (S/m3) for air samples. This number is usually compared against an outdoor control sample taken at the same time. If the indoor spore count for a specific type of mold is significantly higher than the outdoor count, it strongly suggests there is an active source of mold growth inside the building. Elevated concentrations confirm that the spores are being released into the air you breathe, necessitating immediate remediation.
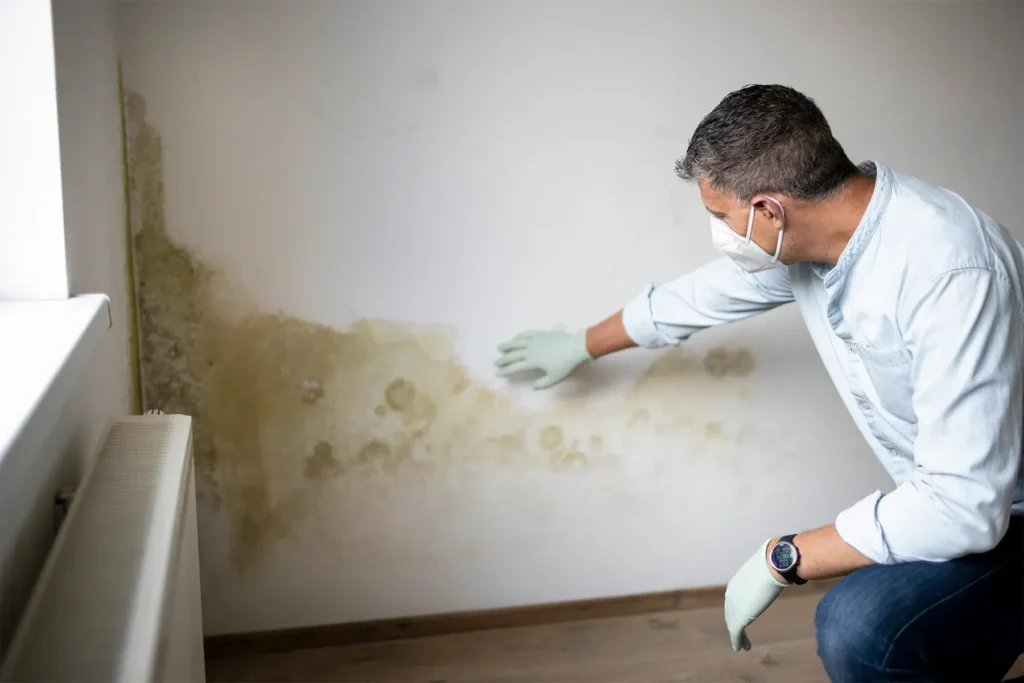
Locating the Source of Contamination
Interpreting the test results also involves correlating the findings with where the samples were taken to pinpoint the source. A high concentration of Stachybotrys from a wall cavity sample, for instance, points directly to a moisture issue behind the drywall. If the air sample shows high counts of spores commonly associated with standing water, like Chaetomium, the investigation should focus on basements or crawl spaces. This critical step prevents unnecessary cleanup and targets the most effective remediation strategy.
Isolate and Contain the Area
Mold spores become airborne when disturbed, easily spreading to other parts of your home through air currents, clothing, and your HVAC system. Your first action should be to prevent this spread.
Limiting Access and Movement
The immediate priority upon confirming a mold problem is to minimize disturbance and movement within the contaminated space. Foot traffic can easily aerosolize spores from contaminated surfaces, allowing them to settle elsewhere in the home. It is essential to limit access for all occupants and pets until the area is fully contained and remediation begins. Consider sealing off the area with caution tape or a physical barrier to clearly communicate that the space is off-limits, significantly reducing the risk of tracking spores to unaffected rooms.
Creating a Physical Barrier with Sheeting
To prevent spores from spreading through open doorways and vents, you must establish a physical barrier. Use heavy-duty plastic sheeting (polyethylene) and duct tape to fully seal all doorways and any openings leading into clean areas. This process creates an isolated work zone, which is particularly vital if you are attempting DIY cleanup. Professionals often enhance this containment with negative air pressure machines to ensure that air only flows into the affected zone, preventing leakage.
Shutting Down the HVAC System
Mold spores can circulate rapidly throughout the entire structure via the heating, ventilation, and air conditioning (HVAC) system. As a crucial containment step, immediately turn off the furnace, air conditioner, and any forced-air fans. Furthermore, use the plastic sheeting and duct tape to seal off all supply and return vents within the affected room. This action ensures that the HVAC system does not act as a conduit, picking up airborne mold spores and distributing them into other living spaces.
Find and Fix the Moisture Source (Crucial!)
Mold cannot grow without moisture. Cleaning the mold without fixing the water problem is like putting a band-aid on a broken pipe—the problem will inevitably return.
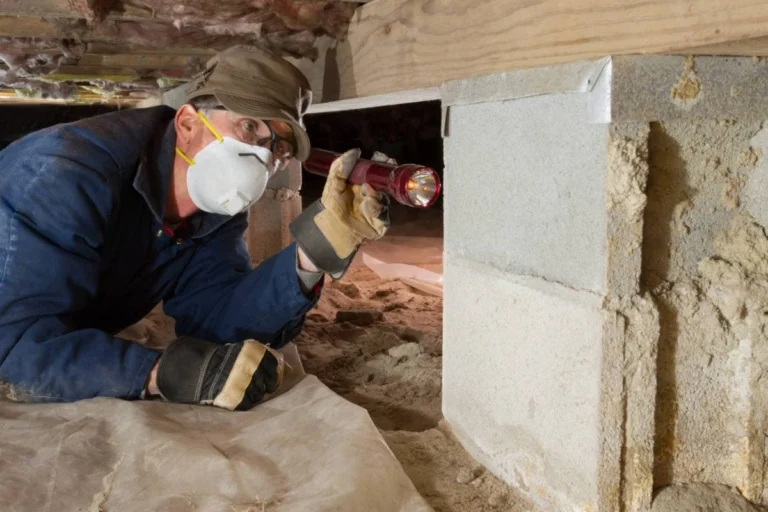
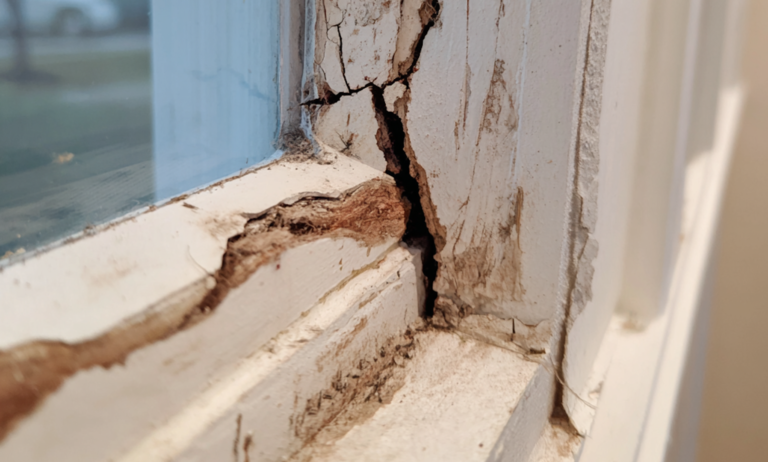
Identifying the Root Cause of Water Intrusion
Successful mold removal hinges entirely on first identifying and eliminating the source of excess moisture; otherwise, mold will inevitably regrow. This root cause could be an obvious issue like a leaking pipe or a roof breach, or a less obvious problem such as high humidity due to poor ventilation, condensation, or improper foundation drainage. Thorough inspection is mandatory, extending beyond the visible mold to check behind walls, under floors, and in attics or crawl spaces where water damage may be hidden and persistent.
Immediate Repair and Structural Correction
Once the source is identified—whether it’s a plumbing leak, a persistent roof drip, or condensation—the required repair must be executed immediately. Simply drying the area is insufficient if the water continues to flow. This often involves professional work, such as fixing damaged plumbing, sealing foundation cracks, or correcting grading issues that cause water pooling around the building’s exterior. Permanent structural or mechanical correction is essential to create an environment where mold cannot access the continuous moisture supply it needs to survive.
Rapid Drying and Ongoing Humidity Control
Following the repair of the water source, the affected materials and air must be dried rapidly, ideally within 24 to 48 hours, to inhibit any remaining spore activation. Employing industrial dehumidifiers and high-powered fans helps wick moisture out of porous materials like wood and drywall. Furthermore, ongoing control is necessary; maintaining indoor relative humidity below 50% (monitored with a hygrometer) and ensuring proper ventilation in high-moisture areas like bathrooms and kitchens are vital steps for long-term mold prevention.
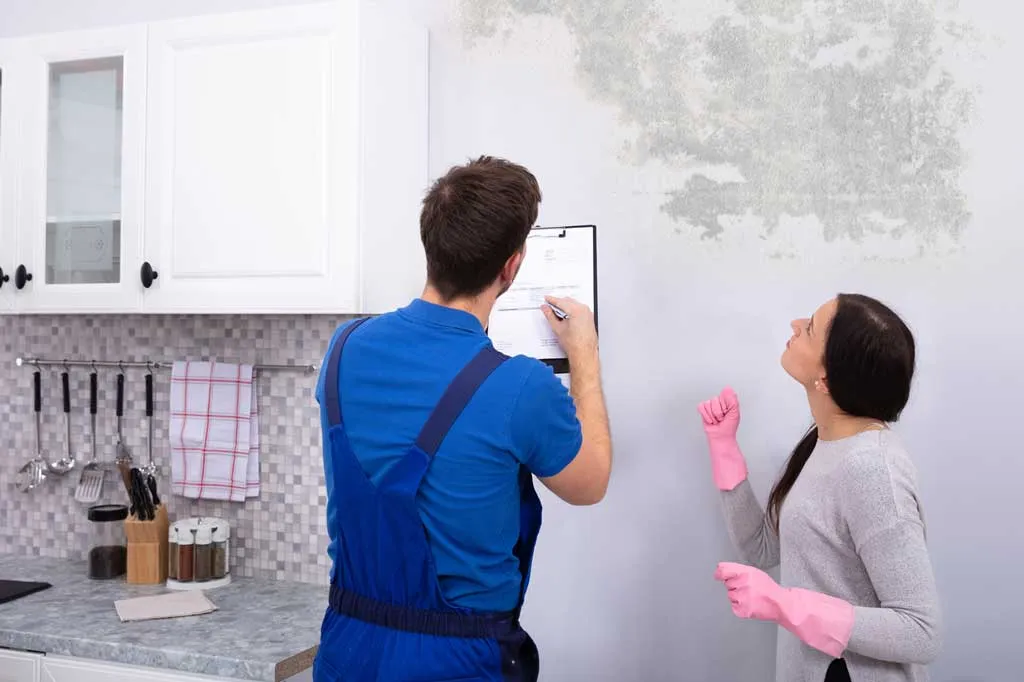
Decide on Remediation: DIY vs. Professional
The size of the contaminated area is the main factor in deciding whether to handle the cleanup yourself or hire a professional mold remediation specialist.
| Factor | Area Size (Square Feet) | Recommended Action |
| Minor Problem | Less than 10 sq. ft. (About a 3′ x 3′ patch) | DIY Remediation (with proper PPE) |
| Moderate to Major Problem | Greater than 10 sq. ft. (About a 3′ x 3′ patch or larger) | Professional Remediation |
| Porous/Hidden Material | Any size, but involving drywall, insulation, or HVAC | Professional Remediation |
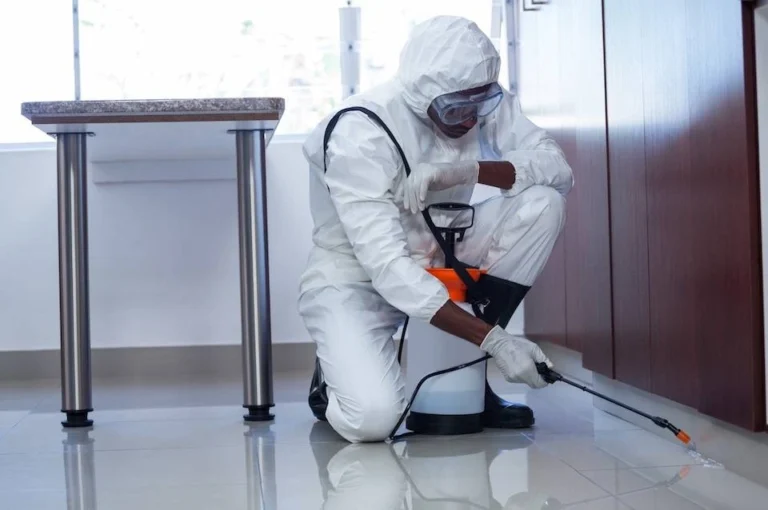
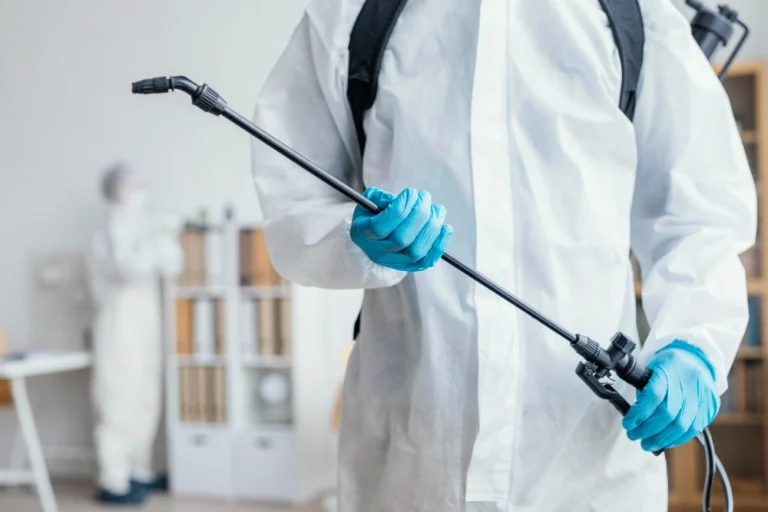
Professional Mold Remediation
A certified professional has the training, equipment, and containment procedures (like negative air pressure machines) necessary to safely and thoroughly remove mold, especially from hidden areas and porous materials. The steps usually involve:
- Inspection and Containment
- Air Filtration
- Removal of Affected Materials
- Cleaning
- Restoration
- Post-Remediation Testing
DIY Mold Cleanup
For small, surface-level mold on non-porous materials (like tile or glass), you can clean it yourself.
- Wear PPE
- Use Proper Cleaners
- Discard Porous Materials
Post-Remediation and Prevention
After cleaning, a clearance test by an independent inspector is necessary to confirm mold removal was successful. The crucial long-term strategy is prevention through strict moisture control. Maintain indoor relative humidity below 50% using dehumidifiers and ensure proper ventilation in all high-moisture areas, such as kitchens and bathrooms, to inhibit any recurrence.
Conducting the Post-Remediation Clearance Test
A Post-Remediation Verification (PRV), or clearance test, is a critical step performed by an independent, third-party inspector to confirm the remediation was successful before any rebuilding begins. The inspector visually checks for any remaining visible mold, dust, or moisture and takes air and surface samples for laboratory analysis. The goal is to verify that the mold spore counts have been returned to “normal fungal ecology”—meaning levels comparable to a healthy outdoor environment—and that all materials are adequately dry to prevent immediate regrowth.
Maintaining Optimal Indoor Humidity Levels
The most effective long-term defense against mold is moisture control, specifically keeping the home’s relative humidity (RH) in the safe zone. Experts recommend maintaining indoor RH levels between 30% and 50%. Investing in an inexpensive hygrometer to monitor this is crucial, particularly in moisture-prone areas like basements and crawl spaces. If the humidity creeps above 50%, the use of a dehumidifier or air conditioner is essential to dry the air and eliminate the breeding ground that remaining dormant mold spores require for activation and growth.
Improving Ventilation and Addressing Condensation
Proper ventilation directly removes humid air generated by daily activities, dramatically reducing the risk of mold growth. Always run exhaust fans in bathrooms during and for at least 30 minutes after showering, and use exhaust hoods while cooking. Additionally, address condensation by insulating cold surfaces, such as cold water pipes or single-pane windows, which can often be a hidden source of persistent moisture. Regular cleaning and quick drying of any standing water or damp spots are also essential preventative habits.
Final Thoughts
Receiving a positive mold test is the necessary start to achieving a healthier home. By following a structured approach—from immediate containment and identifying the moisture source to professional remediation and subsequent prevention—you ensure the problem is solved completely. Prioritize moisture control and regular inspection to maintain a safe, mold-free environment long-term.